You can use CSS to set the color, font, size, and other aspects of HTML elements. You'll learn CSS by designing a menu page for aa Cafe webpage.
Step 1: To attach style element in HTML
Up until HTML, you have been limited regarding the presentation and appearance of the content you create. To start taking control, add a style element within the head element. Eg: <style>----</style>
Syntax of type selectors: With one or more type selector with same values
\=> element { property: value; }
\=> selector1, selector2 { property: value; }
Step 2: to put all the styles in a separate file and link to HTML
Create a styles.css (.css) file.
Nest a self-closing
linkelement in theheadelement. Give it arelattribute valuestylesheetand anhrefattribute value ofstyles.cssinside head element of HTML file.
<link rel="stylesheet" href="styles.css">
For the styling of the page to look similar on mobile as it does on a desktop or laptop, you need to add a
metaelement with a specialcontentattribute inside head element of HTML.<meta name="viewport" content="width=device-width, initial-scale=1.0" />
Properties List:
General syntax for properties in CSS
element{
property: value;
}
| Property Name | Definition | Syntax | Can also be |
| 1. text-align | To align Text | text-align: center; | - |
| 2a. background-color | To color background | background-color: brown; | burlywood |
| 2b. background-image | To attach image | background-image: url(im.com.jpg); | - |
| 3a. width | the width of layout | width-80%; | - |
| 3b. max-width | the width of layout | max-width: 80%; | 200px |
| 4a.margin-right | margin check | margin-right: 25px; | -25px |
| 4b. margin-left | margin check | margin-left: 25px; | -25px; |
| 4c. margin-top | margin check | margin-top: auto; | - |
| 4d. margin-bottom | To set margin either to right or left as required | margin-bottom: auto; | - |
| 5. display | to display | display: inline-block; | block |
| 6. padding | To have some space between the content and the sides. | padding-left: 20px; | Padding-left, padding-right, padding-top, padding-bottom |
| 7a. font-family | To make it look different from the default font of your browser. | font-family: sans-serif; | Impact, Impact,serif(fallback value) |
| 7b. font-style | To style the fonts | font-style: italic; | - |
| 7c. font-size | To resize or set a size to font | font-size: 30px; | - |
| 8. height | The height | height: 3px; | - |
| 9a. border-color | border color | border-color: brown; | grey, brown, white |
| 9b. border-width | width of the border | border-width: 1px;(default) | - |
| 10. color | To color a particular selector | color: black; | grey, brown, white |
Styling elements:
- For Design Layouts: div element(inside body element of HTML file) with attributes 'id' of value menu.
<div id="menu"> </div>
- id Selector: An
idselector is defined by placing the hash symbol#directly in front of the element'sidvalue.
#menu { width: 300px; }
Comments in CSS: /* comment here */
Class Selector: A class selector is defined by a name with a dot directly in front of it.
.class-name{ styles }
Class Attribute: To apply the class's styling to the elements with a value.
Pseudo-selector:
a. You change properties of a link when the link has actually been visited by using a pseudo-selector that looks like,
element-name:visited { propertyName: propertyValue; }
b. You change properties of a link when the mouse hovers over them by using a pseudo-selector that looks like,
a:hover { propertyName: propertyValue; }
c. You change properties of a link when the link is actually being clicked by using a pseudo-selector that looks like,
a:active { propertyName: propertyValue; }
Source: Freecodecamp/Responsivewebdesign
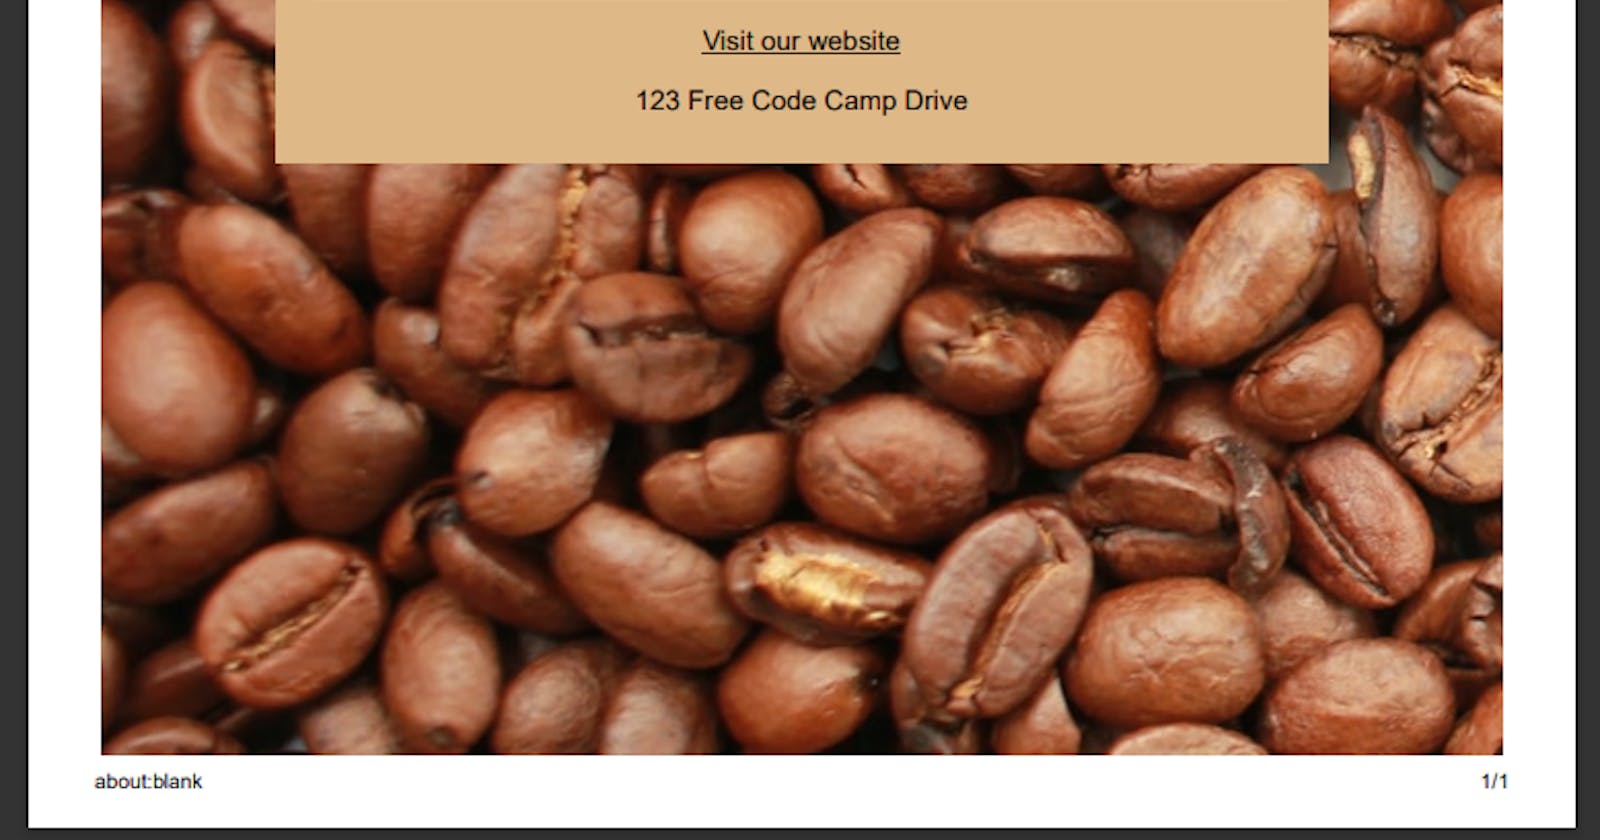
Final Output:

source: www.freecodecamp.org
